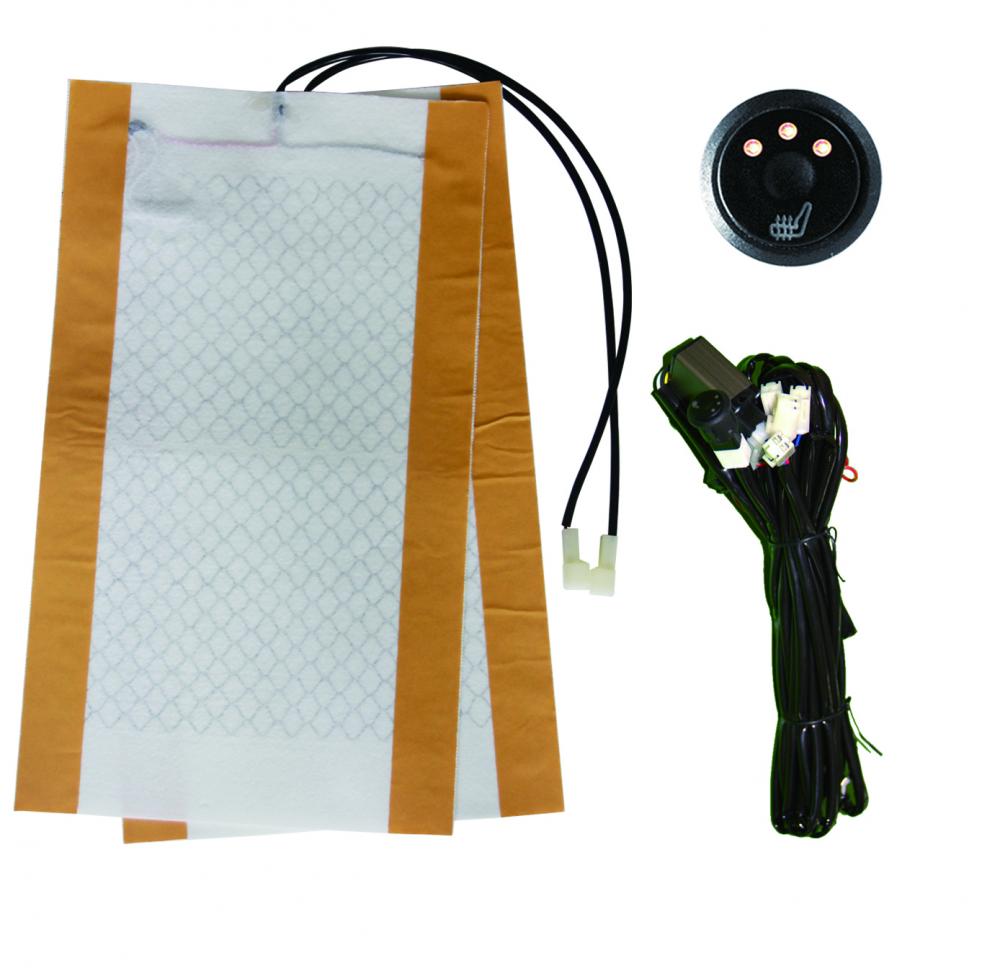
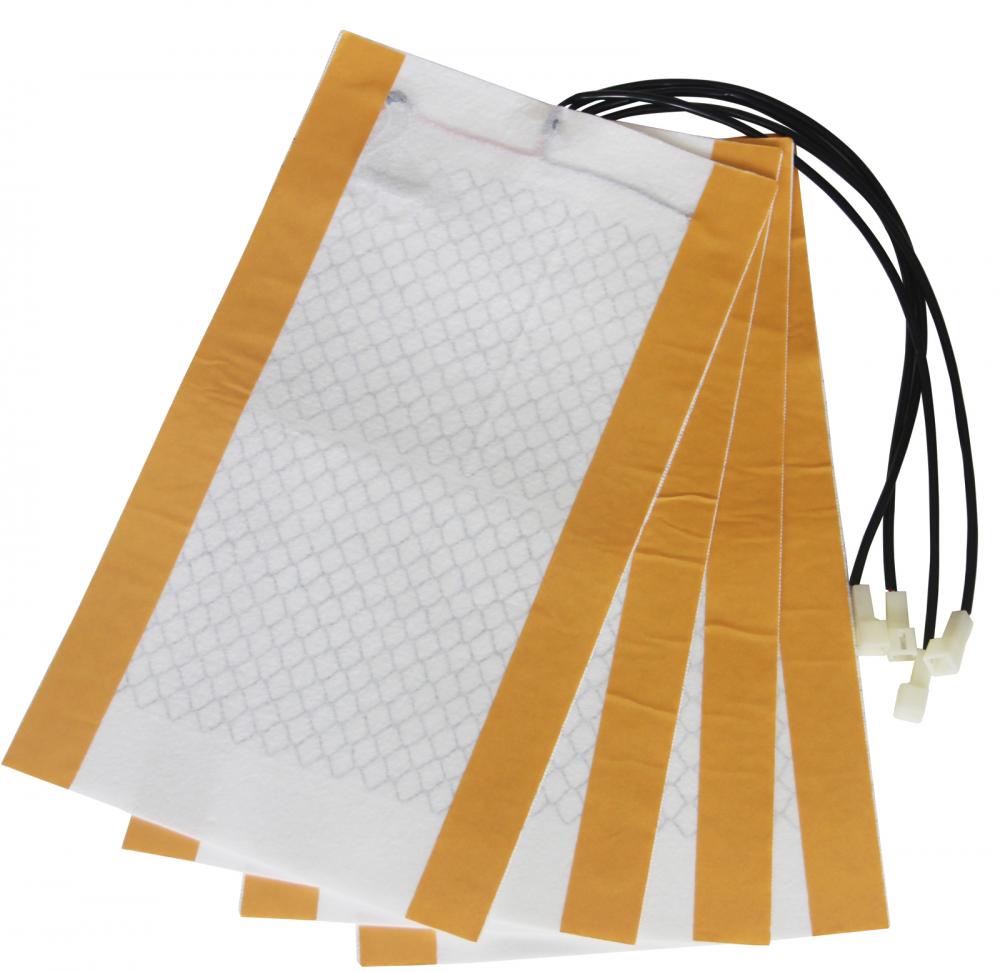
The most common applications in industrial and mining enterprises and research institutes are metal Rockwell, Brinell, and Vickers hardness scales. Metal Rockwell hardness testers and metal Brinell hardness testers have a simple structure relative to metal Vickers hardness testers. Today, we will mainly introduce the common faults and treatment methods of the hardness tester. We hope to help everyone. 1, loading indicator, measuring microscope light does not shine Then check the switch, light bulb, etc. If you do not clear these factors, first check whether the hardness tester power supply is connected. It is necessary to see if all the load is added or if the reed switch is normal. After the exclusion, it is still not normal, you must start with the line (circuit) to start troubleshooting. 2. Invisible or invisible pressure marks, measuring turbidity in the microscope After the adjustment is still not clear, this should start with adjusting the microscope focal length and light. You should turn the objective lens and the eyepiece separately, and move the three flat mirrors with dotted line, solid line, and engraved line in the mirror, carefully observe the problem on which mirror surface, and then remove it, and use long-fiber cotton wool to wipe with absolute alcohol. Clean, install in the opposite order and observe. If it is still not resolved, repair or replace the micrometer microscope. 3, the position of the indentation changes greatly, the indentation is not in the field of view or slightly rotates the table Therefore, adjust them in the following order. 1 Adjust the active clearance at the lower end of the main shaft. The reason for this is that the indenter is fixed at the bottom of the working shaft due to the different axes of the indenter, measuring microscope and worktable. The lower end of the guide seat does not directly contact with the spindle taper; 2 adjust the screw on the side of the shaft to make the working shaft and the spindle with the (axis) center. After adjustment, an indentation is pressed on the test block to observe its position in the microscope. And record; 3 gently rotate the table (to ensure that the test block does not move on the table) under the microscope to find a point on the test block does not rotate, this point is the axis of the workbench; 4 slightly lift the lift screw press plate On the screw and the bottom screw, gently move the entire lifter screw so that the axis of the worktable coincides with the position where the indentation is recorded in the measuring microscope. Then, tighten the clamp screw and adjusting screw and press out an indentation. Repeat the above steps until they completely overlap. 4, the reasons for checking the value of the excess error and solutions 1 The measuring microscope scale is not allowed. Use a standard micrometer for inspection. If not allowed to repair or replace. 2 See if it meets the diamond indentation verification regulations. Replace the indenter if there is a defect. Diamond head defect. Observe with 80x stereomicroscope. 3 Check with a standard dynamometer with a small load and a third grade. If the load exceeds the requirement (±1.0%) but the direction is consistent, the negative (load) load exceeds the specification or the load is unstable. In this case, the lever ratio changes, the spindle protection cap can be released, the force point contact can be turned, and the adjustment load (lever ratio) can be tightly adjusted. If the load is unstable, it may be due to the fact that the force blade is blunt, the fulcrum ball is worn or the working shaft is not concentric with the spindle, and there is a large friction in the working shaft. At this time check the blade and ball, if dull or worn, should be trimmed or replaced. Check the working shaft and clean it, be sure to pay attention to align the shaft circumference ball, see step 3 for adjustment of the same (axis). With the ability to heat in just 30 seconds, this is a reliable and efficient heated car seat that you never want to miss. The car seat has the best quality of carbon fiber infrared heating system, which means that it offers super-fast heating to keep the seat warm. Second, to this, the unit allows for constant adjustment of the temperature to suit your needs. Cars Seat Warmer,Auto Seat Warmer,Cars Heated Seat,Heated Seat Module JiLin Province Debang Auto Electric Co.,Ltd. , https://www.debangcarseatheating.com


January 29, 2024